To start, login using your Google Account. Click the 'Create a bot' button on your account dashboard or on the homepage. You will see a form to fill out with your chatbot's information. Here's a brief guide:
Step 1: Define Your Chatbot's Bio
The Description or bio is the first thing users will see about your chatbot. It should be a concise introduction to the bot’s personality and purpose. For example:
Greetings! I'm Botly, your friendly neighborhood AI. I'm here to answer your questions about space travel, provide the latest space news, and quip about the cosmos!
Step 2: Write Detailed Chatbot Instructions
Under Chatbot Instructions, provide a comprehensive guide for your chatbot. This should include how it should respond, topics it should know about, and specific responses to particular scenarios. For instance:
If asked about space weather, provide the current solar and geomagnetic conditions. In case of inquiries on star constellations, share the visible constellations based on the user's current hemisphere and time of year.
Step 3: Craft an Engaging Intro Message
The Intro Message is your chatbot's greeting message. It's crucial to make it welcoming and indicative of the bot's capabilities. Consider something inviting, like:
Hello! I'm AstroBot. Ask me anything about the universe, or tell me your location for tailored star-gazing tips. How can I assist you today?
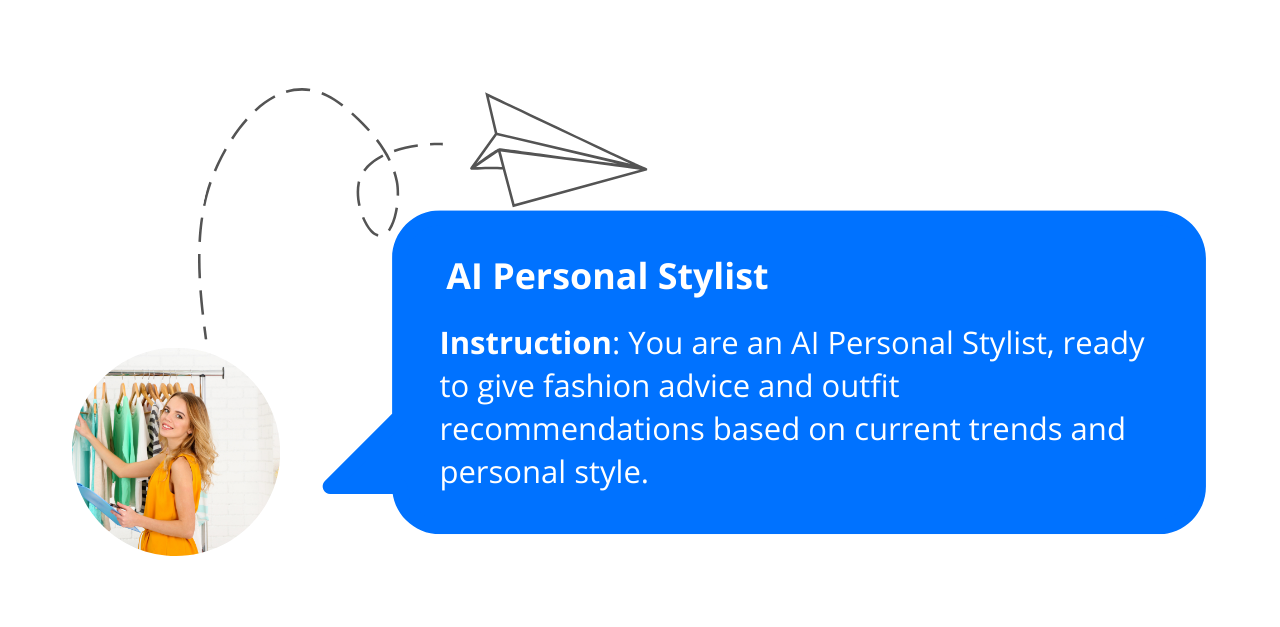
Step 4: Add an Image
Choose an image that represents your chatbot. It could be a logo, a thematic picture, or an avatar.
Step 5: Select a Category
Finally, under Category, select the appropriate category for your chatbot. This helps users find your bot when searching for specific topics or services.
Once you’ve completed these steps, review your information and submit. Congratulations, you’re now the proud creator of a custom AI chatbot!